
Shipping labels might seem like a minor task — until one goes missing, or you’re stuck manually creating 20 of them after hours.
As soon as your e-commerce business starts to scale, printing accurate, courier-compliant labels becomes critical.
But every courier has different formats. And Shopify, WooCommerce, TradeMe and other e-commerce platforms all handle shipping labels differently.
This guide breaks down how to create and print shipping labels the right way — and shows you how to automate the process with Zappy’s free courier platform.
Zappy brings all your NZ and international couriers into one dashboard, so you can batch print labels, book pickups, and track deliveries without juggling multiple logins or plugins.
CTA: Try Zappy free or see which couriers are supported
What is a shipping label, and why are correct shipping labels so important?
A shipping label tells the courier who the parcel is for, where it’s going, how it should be routed, and what happens if it’s returned.
If that label is printed incorrectly — or not at all — you’re risking delays, misrouted parcels, and added courier fees. That matters in New Zealand, where rural and North to South Island deliveries already carry stricter delivery requirements.
Research shows that 2–5% of all orders are misshipped due to labelling, picking, or documentation issues, and every one of those errors costs between $50–$100 to fix. That includes extra labour, repackaging, re-shipping, and customer support time.
Getting shipping labels right from the start isn’t just about compliance. It’s about delivering a seamless experience, keeping your costs down, and avoiding the kind of mistakes that lose repeat customers.
Zappy helps by ensuring labels are generated with the correct format for every major NZ and international courier, all from one place.
How to print shipping labels manually (basic option)
If you're just getting started with a handful of orders each week, most e-commerce platforms let you print shipping labels directly after a sale.
It’s a simple process, and totally fine when you’re still testing your product or fulfilment flow.
Here’s what the manual process typically looks like:
- View the order in your e-commerce platform
- Click “Buy label” or “Create shipping label”
- Choose a courier and shipping method (if available)
- Pay for the label
- Print it using a regular A4 home or office printer
- Tape or stick it to the parcel
- Book a courier pickup or drop it at a local depot
It works — but it has clear limits. You can’t easily compare courier rates. There’s no bulk label printing. And at scale, retyping addresses or selecting services one-by-one can introduce costly errors.
You also still have to manage courier bookings separately, which means more time spent jumping between systems, and less time serving customers or growing your store.
We built Zappy to eliminate these bottlenecks and help all e-commerce business owners deliver a world-class shipping experience to customers. It gives you one dashboard for all your couriers, batch label printing, and local support when things go wrong.
Shipping label setup for major e-commerce platforms in NZ
When it comes to shipping labels for NZ sellers, most major e-commerce platforms don’t offer the same level for NZ as the built-in support for customers in US or Europe.
Instead, Kiwi sellers often need workarounds, plugins, or separate courier tools — all of which add friction.
Below is a breakdown of how label creation works across Shopify, WooCommerce, and Trade Me in NZ, and how Zappy removes these pain points with direct multi-courier integrations.
Printing shipping labels on Shopify
Shopify supports native label printing through Shopify Shipping — but only in selected countries like the US, UK, Canada, and Australia. Shopify Shipping is not available for New Zealand-based stores.
For Kiwi sellers, that means you can’t create NZ Post, Aramex, or Post Haste labels natively in the Shopify admin. Instead, you typically need to:
- Maintain separate courier accounts
- Manually enter or match orders with courier software
- Use a third-party app like Zappy, GoSweetSpot, or ShipIt
A typical NZ manual workflow would involve…
- View the order in Shopify
- Use an app or export to an external platform
- Generate a label and print it using your own printer
- Book a courier pickup manually or drop off at a depot
This process works — but it’s slow, error-prone, and hard to scale, especially if you’re managing multiple couriers across the North and South Islands or handling international orders.
Zappy connects directly to Shopify, pulls in all your orders automatically, and lets you:
- Generate shipping labels for NZ and international couriers
- Automatically apply the correct format and label specs
- Print labels in batches, not one at a time
- Push tracking updates back to your Shopify store
- Compare live courier rates in one dashboard
No plugins, or workarounds. Check out Zappy on the Shopify app store.
Printing shipping labels in WooCommerce
WooCommerce doesn’t include any shipping label features out of the box. You’ll need plugins or paid extensions to generate courier labels, most of which only support a single carrier at a time.
For example:
- NZ Post Shipping Method – requires API keys and setup
- PDF label plugins – don’t link to courier systems directly
- Carrier-specific plugins – often lack multi-courier logic, address validation, or tracking updates
This setup means most WooCommerce sellers in NZ have to:
- Juggle multiple plugins and courier logins
- Can’t easily compare courier rates or manage all shipments in one place
- Struggle to scale label printing beyond a handful of orders per day
Zappy removes all that overhead. It pulls orders directly from WooCommerce, and allows you to:
- Print labels for any supported courier (NZ Post, Aramex, DHL, etc.)
- Automatically update order status and tracking info
- Compare shipping costs across carriers in real time
- Scale up fulfilment without new plugins or manual steps
Integrate your WooCommerce store with Zappy today.
Printing shipping labels for TradeMe orders
TradeMe does not offer native label printing for sellers. Instead, sellers typically:
- Manually copy customer addresses
- Write or print DIY labels from emails
- Buy courier tickets separately from NZ Post or Aramex
- Book courier pickups manually
This method is common among smaller sellers — but becomes unsustainable as volumes increase. It also introduces risk: labels may be formatted incorrectly, tracking numbers go unshared, and there’s no standardised dispatch workflow.
Zappy connects directly to your Trade Me account, making label creation and courier booking effortless. You can:
- Automatically import orders into the Zappy dashboard
- Print courier-approved labels (including rural and international formats)
- Track every parcel from pickup to delivery
- Schedule pickups without switching platforms
This turns TradeMe into a scalable, professional fulfilment channel — not just a marketplace with DIY shipping.
How to generate and print shipping labels with Zappy
Manually printing shipping labels works fine when you're just starting out.
But as soon as you’re handling daily orders — especially across the North and South Islands or shipping internationally — the manual process quickly becomes a source of delays, errors, and lost time.
Zappy was built to solve exactly that. It replaces plugins, third-party label tools, and multiple courier logins with a single platform that handles everything — from label generation to automated tracking updates — in one place.
You can print courier-compliant labels for domestic and international deliveries with NZ Post, Aramex, Post Haste, FedEx, DHL, TNT, and more. Zappy supports both one-off printing and bulk fulfilment workflows, so you can scale your shipping operation without scaling your admin overhead.
Even better, you can order shipping labels and thermal printers directly through Zappy at cost price.
How to print shipping labels in Zappy
Whether you’re fulfilling one order or dozens, Zappy makes the process fast and consistent. Here’s how it works:
1. Connect your store
Link your Shopify, WooCommerce, or Trade Me store to your Zappy account. Orders will start syncing automatically — no manual import required.
2. Choose a courier and rate
For each order, Zappy presents your courier options and full pricing based on weight, destination, and service level. You can accept the recommendation or choose another option from your approved carriers.
3. Click “Print Label”
Zappy generates a ready-to-print courier label in PDF format. It’s already sized to 100x150mm and formatted to each courier’s requirements (no resizing or reformatting needed).
4. Apply a label to the parcel
Print your label using a standard printer or a Zappy-supplied thermal label printer. Stick it directly to the parcel — no cutting or taping required.
5. Courier is notified
Once the label is generated, you can book courier pick-up in Zappy or drop-off, and start sending tracking updates to your customer via branded email notifications.
6. Track everything from your dashboard
You can monitor fulfilment status, parcel movements, and delivery progress — all in one interface.
Optional: Order thermal printers and courier labels through Zappy
Zappy makes it easy to level up from A4 printouts and tape. You can purchase courier-compatible labels and a high-performance thermal label printer directly from Zappy — at cost price.
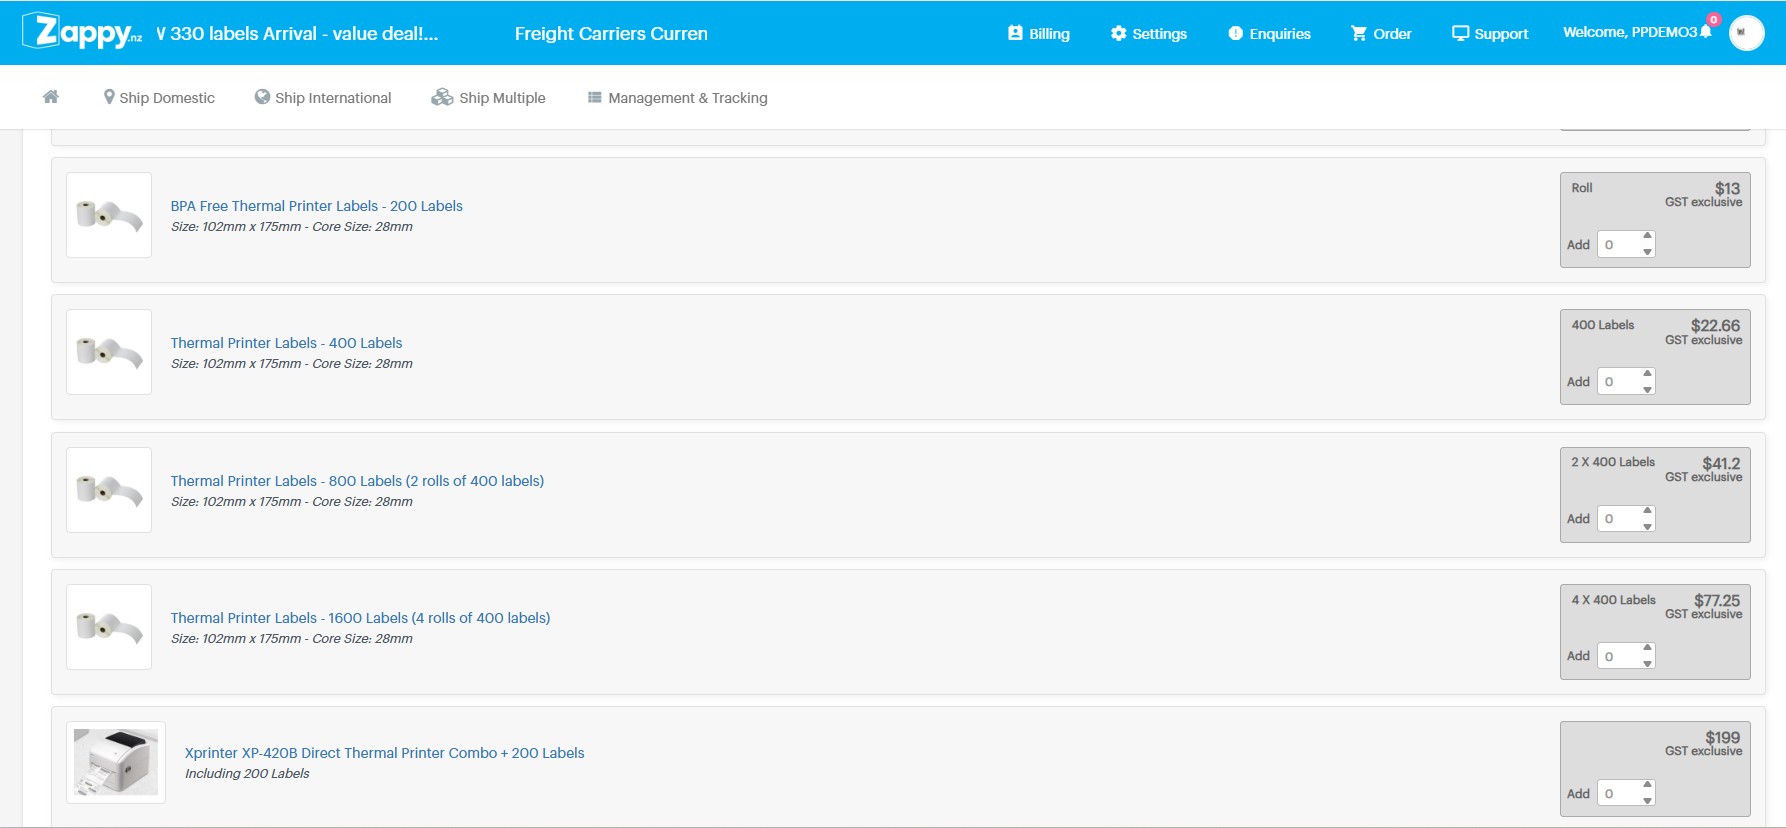
The XP-420B thermal printer is plug-and-play, courier-approved, and designed specifically for fast, ink-free shipping label printing. It:
- Prints 100x175mm courier labels (NZ standard size)
- Requires no ink or toner (direct thermal)
- Connects via USB or Ethernet
- Is fully supported by the Zappy dashboard
Paired with Zappy-supplied label rolls, this setup gives you a reliable, low-maintenance fulfilment workflow that scales with your business — without extra software or setup costs.
Shipping labels guidance to avoid delivery failures and chargebacks
Even small errors on your shipping label can lead to big consequences — from delayed parcels and returned items to unexpected courier charges or outright delivery refusal.
For New Zealand e-commerce sellers, where rural deliveries, PO boxes, and island routes add complexity, it’s especially important to get this right the first time.
Here’s how to ensure your labels won’t cause issues with couriers or customers:
Use accurate weight and dimensions
Most NZ couriers — including NZ Post, Aramex and Post Haste — calculate shipping costs based on volumetric weight, not just physical weight. That means if your parcel is lightweight but bulky, it will be charged based on the space it takes up.
If your label declares inaccurate weight or dimensions, the courier may:
- Apply an adjustment fee
- Delay delivery due to reprocessing
- Flag your account for manual review
Zappy calculates volumetric and actual weight automatically, based on your item and packaging settings — helping you avoid under-declaring and getting stung later.
Check the recipient address formatting
Couriers in NZ treat street addresses, PO Boxes, and RD (rural delivery) addresses differently, and getting this wrong can cause parcels to be misrouted or refused.
Common address mistakes include:
- Using a PO Box for courier-only services (e.g. Aramex can’t deliver to PO Boxes)
- Forgetting RD tags, which affects rural pricing and routing
- Missing company names for business addresses in multi-tenant buildings
Zappy uses automatic address validation to catch these issues before you print the label, so you don’t lose time (or reputation) to avoidable delivery failures.
Avoid ink that fades or smudges
If you’re using a standard A4 printer, be careful with ink settings. Low-contrast ink, smudged toner, or paper that curls in transit can make your barcodes unreadable — especially if the parcel goes through a high-volume depot.
Even a slightly blurred barcode can cause:
- Delays at the sorting centre
- Failed scans (requiring manual handling)
- Lost tracking visibility
For consistent results, Zappy recommends using a thermal printer like the XP-420B, which prints at the standard 100x175mm size with no ink required and no smudging.
Be careful when applying tape
If you’re using a standard printer and paper labels, it’s common to tape the label onto the parcel. That’s fine — but never tape over the barcode unless the tape is completely clear and non-reflective.
Glossy tape can prevent scanners from reading the barcode, especially under warehouse lighting. If the label isn’t scannable at first pickup, your parcel may be delayed or rejected.
Thermal labels don’t need extra taping — just peel and stick.
Always include a return address
Most NZ couriers won’t attempt delivery if a parcel lacks a return address. If the delivery fails, they won’t hold or store the item indefinitely — they’ll either return it (at your cost) or dispose of it if the sender can’t be identified.
Always make sure:
- Your business name and return address is printed clearly
- It matches your courier account or Zappy profile
- It’s included in the label layout, not handwritten as an afterthought
Zappy automatically applies your return address to every label, so it’s never missed.
Answering your shipping label FAQs
Can I print shipping labels at home?
Yes — Zappy shipping labels are generated as standard PDF files, which you can print on any regular A4 inkjet or laser printer.
That said, for faster and more consistent results, especially when you’re processing more than a few parcels per day, we recommend using a thermal label printer like the XP-420B (available through Zappy). It prints the correct label size with no ink or cutting required.
If you’re just starting out, you can print on A4, cut to size, and tape labels to your parcels. When you're ready to scale, upgrading to thermal printing will save time and reduce scanning issues.
Is label printing free?
Yes. Zappy does not charge for generating shipping labels. You can print as many as you need — there are no fees per label, no monthly subscriptions, and no “seat” pricing.
You only pay for the courier rate on each shipment, which Zappy shows up-front when you choose a service. Your bill is consolidated across all couriers, so you don’t need to manage separate accounts.
Can I use Zappy for international shipping labels?
Yes — Zappy supports both domestic and international shipping. You can generate labels and required documentation for international services offered by couriers like NZ Post, DHL, FedEx, Asendia, and TNT.
When shipping overseas, Zappy automatically includes:
- Courier-compliant labels
- Required customs declarations
- HS codes (if provided in your product setup)
- Branded tracking for your customer
There’s no need to manage customs forms separately or register with international courier portals.
What label sizes does Zappy support?
Zappy supports all common formats used by major NZ couriers:
- 100x175mm (also known as 4"x6") — recommended
- A4 — for standard desktop printers
When you print a label through Zappy, it’s automatically sized for your chosen courier. If you’re using a thermal printer like the XP-420B, you’ll get a perfect scan-ready label every time.
If you’re using an A4 printer, you can select an A4-compatible layout to print one or more labels per page.
Can I use Zappy with a 3PL or warehouse partner?
Yes. Zappy is commonly used by businesses that fulfil orders through a third-party logistics (3PL) provider or shared warehouse.
Here’s how it works:
- Orders flow into Zappy from your store (Shopify, WooCommerce, Trade Me, etc.)
- You or your team generate the labels using Zappy’s courier recommendations
- You can then send the labels (or batch PDFs) to your 3PL for printing and dispatch
Zappy handles courier bookings and tracking updates automatically
This gives you full control over pricing, courier selection, and branding — even if someone else is packing and sending the parcels.
If your 3PL allows API integrations or direct access to Zappy’s dashboard, they can work inside your account under a shared workflow.
Do I need a courier account to use Zappy?
No. You don’t need to set up your own accounts with NZ Post, Aramex, DHL, or any other couriers. Zappy has direct integrations with each supported courier and passes through live rates without requiring separate contracts or credit applications.
If you already have an account with a preferred courier, Zappy can accommodate that too — just get in touch with the Zappy team for configuration options.

